
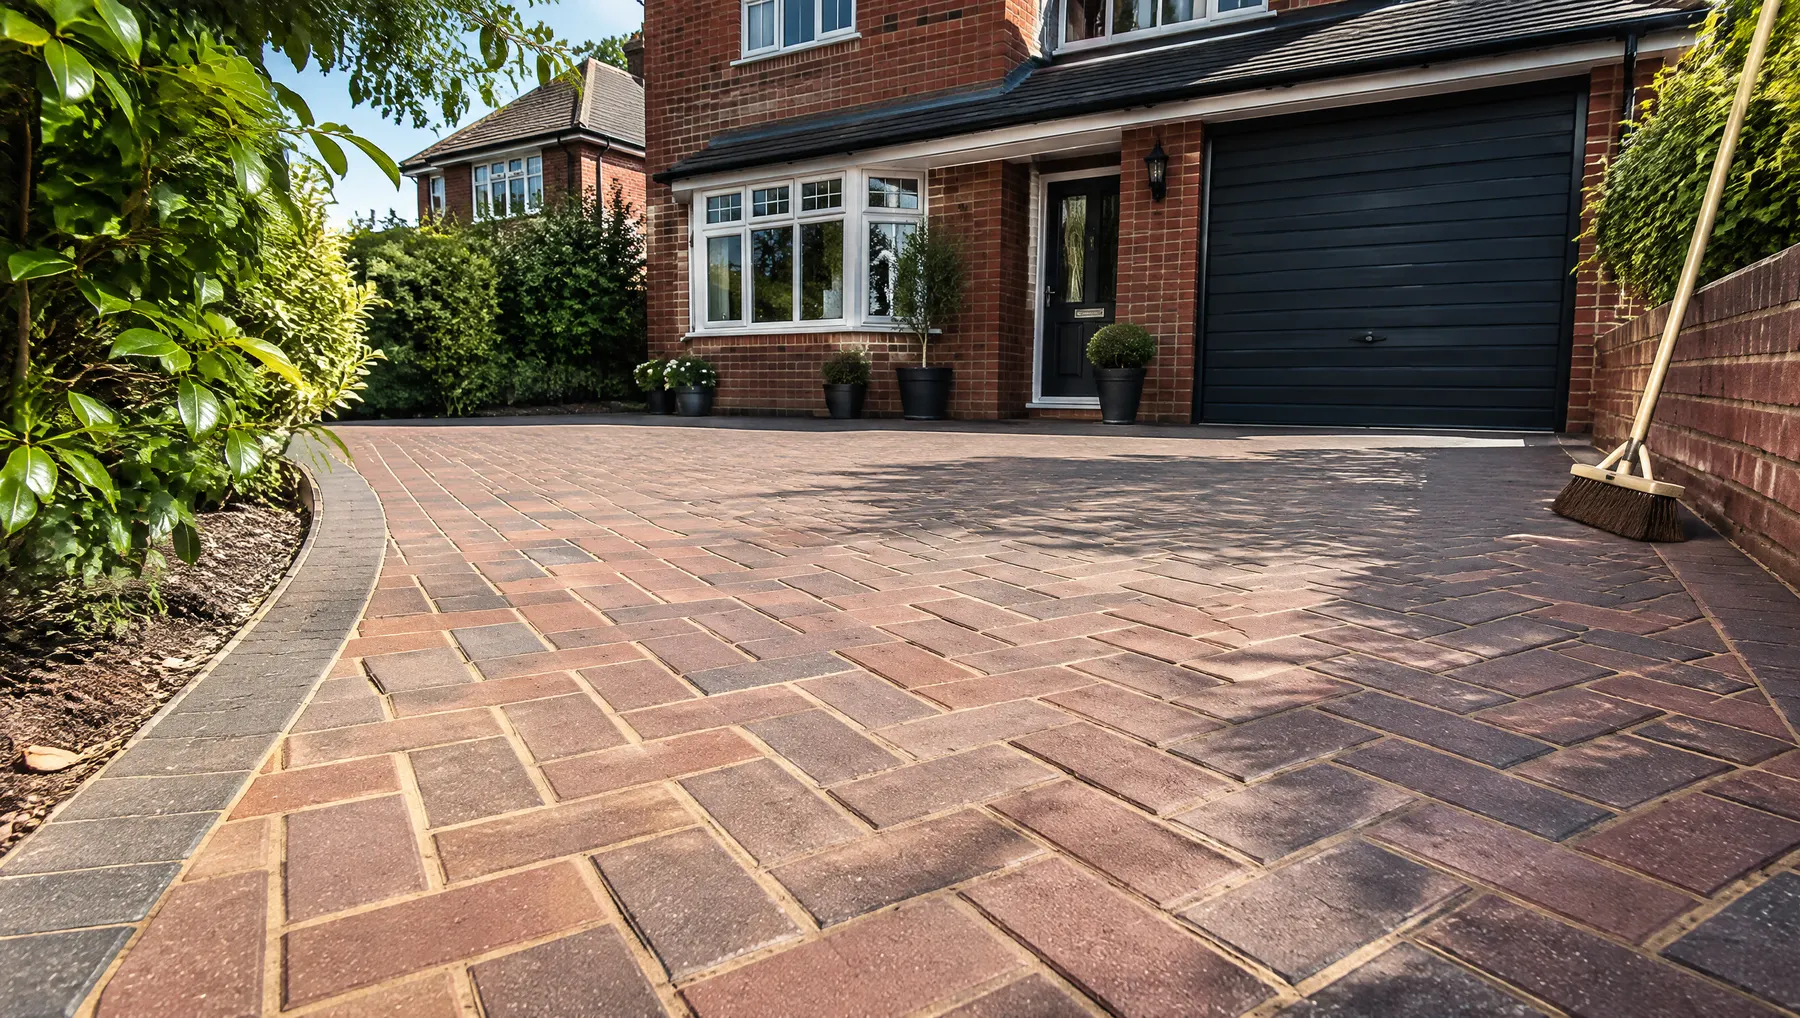
Pressure washing does not damage block paving when it is done at the right pressure, angle and distance, and the joints are re-sanded afterwards. Damage happens when the jet is too strong, too close or pointed straight down, which blasts out the jointing sand and can etch the surface of concrete blocks.
So the honest answer is that the machine is rarely the problem. The person holding it is. Here is what actually goes wrong, and how to clean a block paved drive without causing it.
What manufacturers actually say
Marshalls, one of the biggest UK paving manufacturers, sets out clear limits in its technical guidance. No more than medium pressure should be used on paving. The lance should be held at an oblique angle, at least 200 mm (8 inches) from the surface, and a trial area tested before washing the whole drive.
Its block paving cleaning advice adds that the washer should be angled at about 30 degrees and sprayed diagonally on a medium setting. Ignore that, it warns, and you may mark the surface of some paving and break up the jointing material. If sand does wash out, the joints should be re-sanded with similar material.
The four ways pressure washing goes wrong
1. Stripping out the jointing sand
This is the big one. Block paving is not glued or cemented down: the blocks sit on a bed of sand and lock together because the joints are packed with fine sand. Blast that sand out and the blocks can start to move, rock and drift apart, especially where cars turn.
Some sand loss is normal on any clean. The damage comes from not putting it back. A drive left with empty joints through a wet winter will grow weeds fast and can start to sink in places.
2. Etching or scarring the blocks
Concrete blocks have a thin, smooth top layer. A narrow jet held close and still cuts into it, exposing the coarser aggregate underneath. You end up with a drive that looks striped or blotchy, and once the face is gone it does not come back.
3. Striping and tide marks
Sweeping a lance back and forth by hand rarely gives an even finish. Overlapping passes clean some strips harder than others, so the drive dries with visible lines. A rotary surface cleaner with a hood keeps the distance constant and avoids most of this.
4. Spraying water where it should not go
Pointing a jet at the house wall, airbricks, door thresholds or the bottom of a garage door can push water where you do not want it. We work away from the house and keep an eye on where the run-off is going.
Safe versus risky: a quick comparison
| Safe practice | What causes damage | |
|---|---|---|
| Pressure | Medium setting at most | Full power or a turbo nozzle on concrete blocks |
| Angle | Oblique, around 30 degrees, sprayed diagonally across the joints | Straight down, or along the line of the joints |
| Distance | At least 200 mm from the surface | Nozzle a few centimetres away to shift a stubborn mark |
| Tool | Rotary surface cleaner, then lance for edges | Pencil jet across the whole drive |
| Testing | Trial patch in a hidden corner first | Starting in the middle of the drive |
| Aftercare | Dry, then brush in kiln-dried sand, optional sealer | Leaving the joints empty |
Clay pavers, natural stone and permeable blocks
Not all block paving is concrete. Clay pavers are fired, so their faces are harder and hold colour right through, but the joints are just as vulnerable. Natural stone setts and cobbles can be softer than they look; Marshalls recommends keeping to a low-pressure setting on natural stone, because too much pressure can erode it over time.
Permeable block paving needs extra care. Rain drains through wider joints filled with fine grit and into the stone base underneath. Blasting that grit out, or refilling it with ordinary sand, can slow the drainage, so permeable drives should be topped up with the same grit, not kiln-dried sand.
How we clean block paving without damaging it
- Sweep and scrape the joints to lift loose grit, leaves and weeds, so they do not act like sandpaper under the water.
- Test a small area to check the pressure suits your blocks.
- Clean the main surface at a controlled pressure, keeping the cleaning head moving and the distance constant.
- Use a fan lance at an angle for edges, steps and around drains.
- Rinse the slurry off the drive and away from the house.
- Let it dry, then brush kiln-dried sand (or the right grit for permeable paving) into every joint.
- Seal if you have asked for it, once the joints are full and the surface is dry.
Re-sanding is the part people skip on DIY cleans, and it is the part that protects the drive. Full joints keep the blocks locked, and they leave far less room for weeds to root.
Should you seal block paving after washing?
Sealing is optional. A good sealer binds the top of the jointing sand, slows weed growth and makes oil and dirt easier to clean off later. Some sealers also deepen the colour a little.
The downsides are that it needs reapplying every few years and must go on a fully dry surface. Marshalls also notes that pressure washing may remove an existing sealant, and recommends resealing afterwards.
When to book a professional
If your drive has deep moss, oil staining, sunken joints or you simply do not want to risk the blocks, a professional clean is worth it. Our block paving cleaning includes re-sanding as standard, and our driveway cleaning page covers tarmac, resin and concrete drives too.
Wondering how often you should be doing it? Our guide on how often to clean your driveway breaks it down by surface. When you are ready, get a free quote and we will give you a fixed price before any work starts.
Frequently asked questions
What pressure should I use on block paving?
Medium at most. Manufacturer guidance says no more than medium pressure on paving, with the lance held at an angle and at least 200 mm from the surface. Test a hidden corner first and keep the nozzle moving.
Will I lose all the sand from my joints?
You will lose some, which is normal. That is why every block paving clean should finish with re-sanding once the surface is dry. Kiln-dried sand flows into the joints properly; damp building sand does not.
Can pressure washing make block paving sink?
Not directly, but empty joints can let blocks move under car tyres, and water getting into the bedding layer can cause dips over time. Re-sanding after the clean keeps the blocks locked together.
Is pressure washing safe on a permeable block drive?
Yes, with care. Use a lower pressure so the jointing grit is not flushed out, and refill the joints with the same type of grit afterwards. Ordinary kiln-dried sand can slow the drainage that makes the drive permeable.
Why does my drive look stripy after I cleaned it?
Uneven passes with a hand lance clean some strips harder than others. A rotary surface cleaner keeps the distance constant and gives a far more even finish. A second, careful clean usually evens it out unless the block faces have been etched.